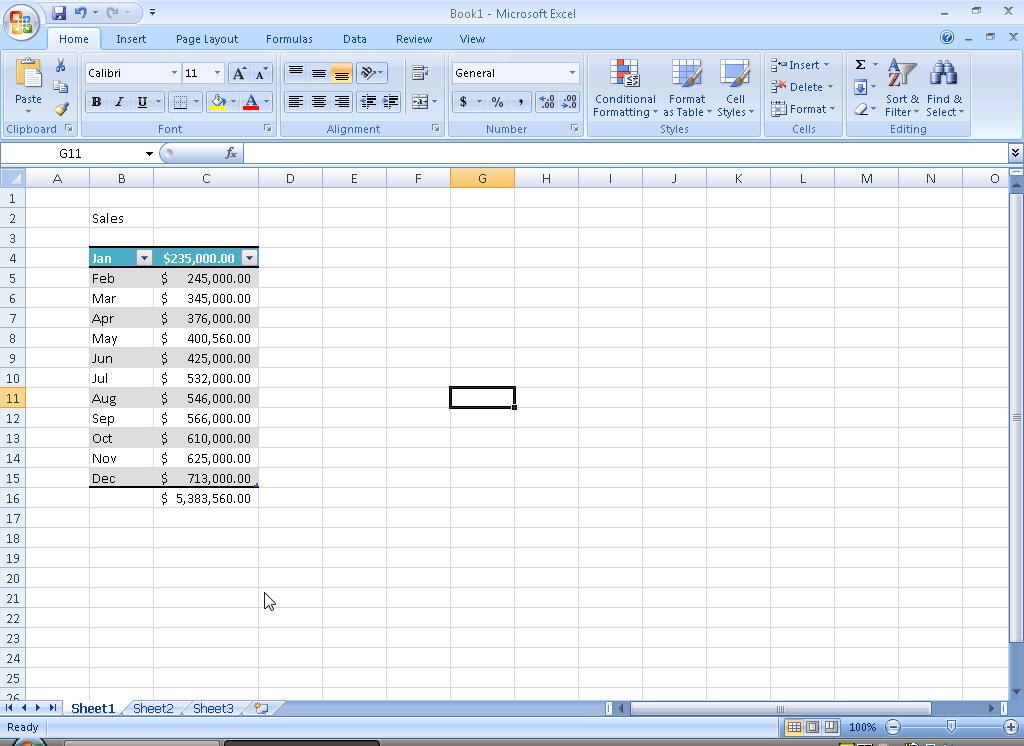
Have you ever encountered a situation whereby you want to convert some text files either from a website or a note pad into an Excel file? I remember the first time I encountered that and I felt it is quite impossible. Well, it isn’t. In this tutorial, we are going to show you how to accomplish that with the different versions of office available.
It is worthy of note that saving your text file as an Excel spreadsheet allows you to work with your data more easily. You will encounter less error working with Excel than with a text file. Let us look at how you can carry out this conversion.
A text file can be converted into a spreadsheet file using the following versions of Excel:
- 2003
- 2007
- 2010
How To Convert From Text To Excel
Using Microsoft Excel 2003
Follow these steps to effectively convert your text file into an Excel file using this version of Excel.
- The first step is to open your Microsoft Excel.
- Click on data, then import external data and then import data.
- Open the file you created in Notepad. A wizard will display.
- From the wizard, select Delimited and click Next button.
- Uncheck the tab that appears and select space instead. Click next after that.
- Click Finish and Ok.
- On your Excel toolbar, select file, then Save As.
- Type the new name for your file in the dialog box that pops up.
- It will ask you to save as what. Choose Excel Workbook (xlsx), Excel 97-2003 Workbook (.xls), or CSV (Comma Delimited) (.csv) and click Save.

Using Microsoft Excel 2007
Here are the steps.
- Open your Microsoft Excel 2007.
- Select that data tab.
- Click from text.
- Proceed to browse for the text file and select it when you see it.
- Click on the import button. The Text Import Wizard will begin after that.
- From the wizard, select Delimited and click Next button.
- Uncheck the tab that appears and select comma. Click next after that.
- Click the finish button once you are done.
- Choose to save the information in either an existing worksheet or a new worksheet.
- On your Excel toolbar, select file, Save As and type the name in the dialog box that pops up.
- Save as type should be Excel Workbook (xlsx).
Using Microsoft Excel 2010
Here are the steps for this version of Excel.
- Open your Microsoft Excel.
- Find the data tab and click on it.
- Check out the External Data group and click From Text.
- Double-click the text file that you want to import in the Import Text File dialogue box.
- After that, click on import. The text import wizard will launch after that.
- Select Delimited and click Next.
- Uncheck the tab that appears and select comma instead. Click next after that.
- Click the Finish button and select to save the information in either an existing worksheet or a new worksheet.
- Once you are done with that, go to your Excel toolbar, select File > Save As and type the name of the file in the dialog box that pops up.
- Under Save As Type, choose Excel Workbook (xlsx).
These steps will allow you to effectively convert text files to Excel files. Once this conversion is done, you can be able to work with your data easily.

Follow us