In the past, we have already talked about the possibilities of video editing using the Online-Convert.com API. Different ways to edit PDF files, such as merging and splitting documents or protecting a PDF with a password, have also been discussed before. But there is so much more our RESTful API can do.
Today’s article will give a quick overview of how to edit photos, pictures and other images using the file conversion API.
How To Perform Basic Image Editing
Before we start, please make sure that you know how to do basic conversions using our API and the Postman software. You can learn the basics and find the necessary collections in this article: Test Our API On Your Computer
Once you are familiar with Postman and the basic POST and GET calls, let’s move on to the image editing.
As a basis of the conversions, we will convert a camera raw image to JPG. For this, we will use the following POST command:
{
    "input": [{
        "type": "remote",
        "source": "https://cdn.online-convert.com/example-file/raster%20image/nef/example.nef"
    }],
    "conversion": [{
        "category": "image",
        "target": "jpg"
    }]
}
Change DPI
As with all optional settings you can apply to a conversion, the needed code will be added to the conversion in the conversion options. To change the DPI of an image, the following option has to be used:
"options": {
    "dpi": 75
 }
The DPI has to be given as an integer between 10 and 1,200.
Change Image Size
Next to the DPI, the width and height of an image can be changed as well, either individually or together. To do so, the following code is needed:
"options": {
    "width": 500,
    "height": 250
 }
The values for width and height are also given as integers, both ranging from 1 to 65,000.
Change Image Color
One of the more visual changes you can apply to an image is changing its color schema. There are a few color presets you can choose from to give an image a different look. To see what the single presets do, check out this article: Image Settings Explained
"options": {
    "color": "1980"
 }
The following options are available:
- gray
- monochrome
- negate
- 1980
- 1900
Enhance Images
There are a few image enhancements you can apply to your image on top of changing size and color. These are the following:
"options": {
    "enhance": true,
    "normalize": true,
    "sharpen": true,
    "antialias": true,
    "despeckle": true,
    "equalize": true
 }
Per default, all these are set to “false”. In case you want to add one of these enhancements, you only have to include the one you want with the value “true”.
Rotate An Image
Another neat feature provided in our API that is not given on the homepage is rotating an image. For this, add the following code snippet to the conversion POST:
"options": {
    "rotate": 90
 }
The rotation is indicated in the degree of rotation. While we advise you to use a rotation of in the 90° spectrum (90, 180, 270), you can specify any degree. Note that in this case, e.g. choosing 70°, the background of the image, filling the space, will be white.
Full Image Editing Code
Now, lets have a look at how a full image conversion using these image editing options may look like.
{
    "input": [{
        "type": "remote",
        "source": "https://cdn.online-convert.com/example-file/raster%20image/nef/example.nef"
    }],
    "conversion": [{
        "category": "image",
        "target": "jpg",
        "options": {
            "dpi": 300,
            "width": 1024,
            "color": gray,
            "sharpen": true,
            "rotate": 180
        }
    }]
}
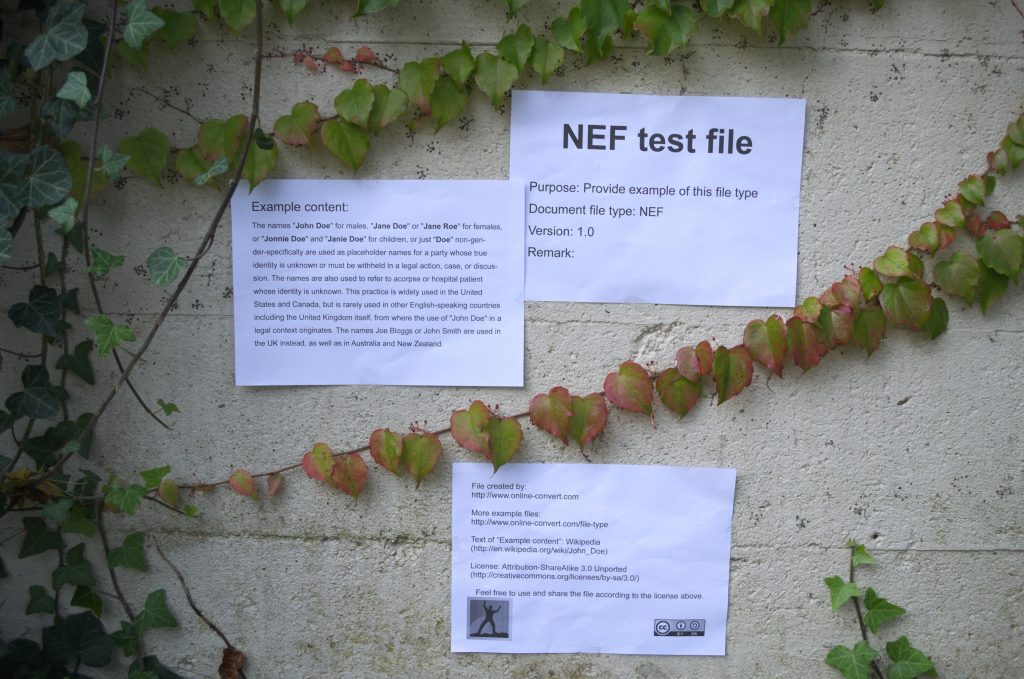
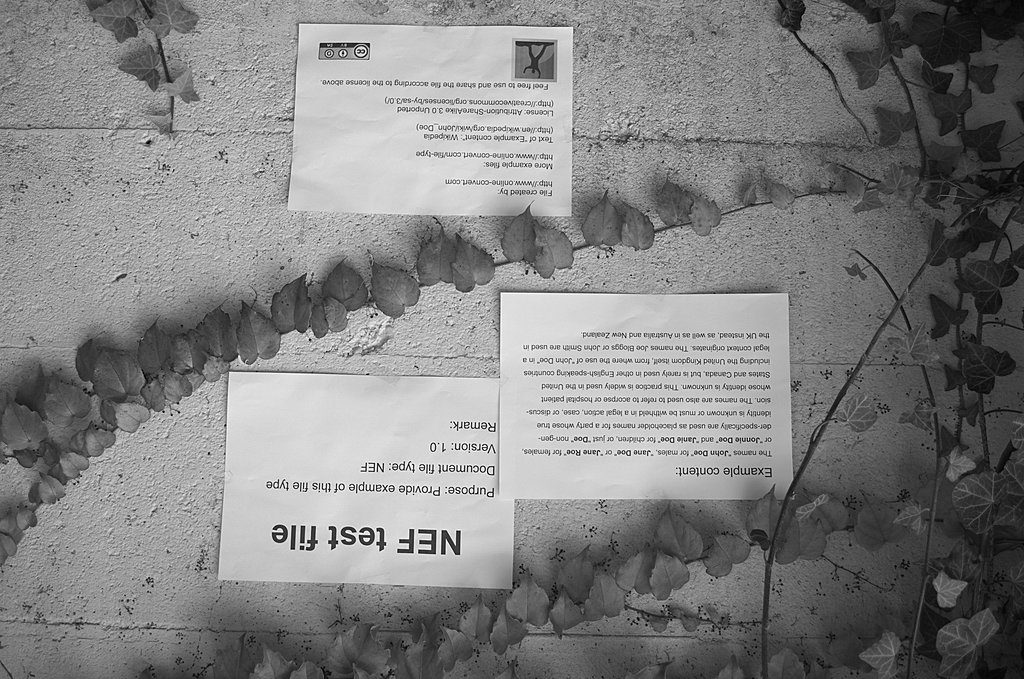
Here you can see a direct comparison between the original NEF and the converted JPG file:
| Original | Conversion |
 |
 |
