As you may already know, Apple’s Notes app functions as a service for making short text notes. These notes can be synchronized between devices using Apple’s iCloud service. If you want to be significantly more productive using this application, here are some of the best Apple Notes tips you should know about. Step up your productivity game and find out how to use Apple Notes more efficiently!
Apple Notes Tips and Tricks
Implementing just a few new Apple Notes tips will drastically change the way you use the Notes app on your iPhone, iPad, and Mac. Let’s start and see what Apple Notes can do!
1 Use Folders & Hashtags in the Notes app
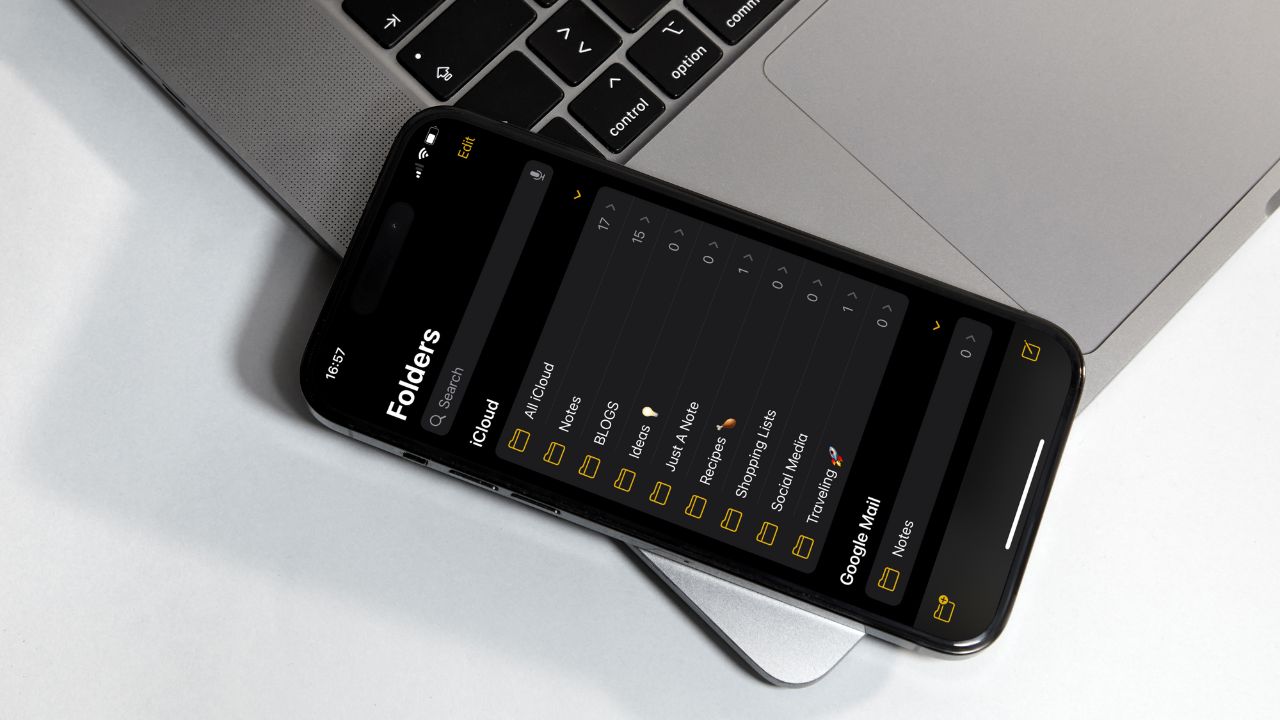
Although easy to use, the Notes App does not give off that impression at first. It is not quite obvious how exactly to organize your notes. That’s why we are here to give you some great Apple Notes tips. The first of them is to get into the habit of using folders.
How to do that? Tap on the folder button at the bottom-left of the app and create a new folder. It is also possible to create folders within folders.
Add Hashtags to Notes
This is one of the newest features of the Notes app. You should definitely take advantage of it because it will help you organize yourself even better! When creating a note, enter as many hashtags as you want inside the text. A hashtag needs to be a single word or a combination of words. When it shows in yellow font, your hashtag is ready to be used.
Down at the bottom of the main notes page, you can see all of your hashtags. Tap on the hashtag to see everything with that exact tag in the Notes or search for a hashtag up at the top in the search bar. You can search for hashtags across the entire Notes or within specific folders.
Create Smart Folders
Hashtags can be turned into Smart Folders. What is a Smart Folder in Notes? Smart Folders act like filters to gather your tagged notes. When using them, your notes remain in the original folder you created them in. Use Smart Folders to easily find notes that you want to refer to more often.
Here is how to create a Smart Folder:
- Tap the New Folder button.
- Choose an account (such as On My iPhone or iCloud).
- Tap New Smart Folder, enter a name, and select the tags or create new tags.
You can also create a Smart Folder from the Tags browser. Just tap the tag, then tap the More button, tap Create Smart Folder, add a name, and tap Save.
2 Integrate your Notes with Reminders
When it comes to using Apple Notes for productivity, this must be one of our favorite Notes tips! You may not be aware of it, but Apple actually makes it easy to integrate Notes with Reminders. If, while working on notes, you realize that you have to set a date and time for some of the tasks, do not despair. Although at first, it is not obvious how you can do it, it can be done in a couple of ways.
Here are 3 methods on how to integrate Notes with the Reminders app:
METHOD 1
First, highlight some relevant text in the Notes. Simply, tap and hold, and then use the cursors to select the text you want to highlight. Notice the contextual menu above the text. Use the arrow to scroll through until you see the Share option. Choose Reminders and the remainder is ready to be created. In the Details section, you can specify the date and time, add tags and choose the list. Select Done and go back to the Reminders app – your reminder is set! If you click on a Notes icon next to it, you will see your note again.
METHOD 2
Do you want to create a quick reminder about the entire Notes? Tap into the menu at the top right corner of the screen and choose Send a copy. In the opened menu, choose Reminders. This action will create a reminder just like in the first shown method, but it will also include the full contents of the note!
METHOD 3
When you type a date into note and choose Done, notice that your phone recognizes it as a date (it gets underlined).
If you tap on that date, you have some options to create events, reminders, and calendar appointments related to that date. This is one of the ways to quickly create reminders, but that reminder will not have a link back to your note.
How to manually create a link
- Tap on the menu in the upper right corner (circle with 3 dots).
- Choose Share notes.
- Scroll to the right, choose “More”, and then “Copy link”.
- On the newly opened screen, also select Copy link (in the upper right corner).
- Go back to your note, tap on the date and choose Create Reminder.
- Name your reminder and in the notes section tap and hold for a moment, then choose Paste.
- The link is now pasted including a hashtag at the end of the link. Make sure to delete the hashtag.
- Click on Add to save the reminder.
Go to the Reminders app and you will see that you now have a reminder for the task you want to complete. If you tap on the link, the note associated with this reminder will open.
GOOD TO KNOW: In addition to entering the date in the notes, you can also enter the time. If you create a new line in the note and type in both the date and time, the app will recognize it. Every reminder or event you create will include the same date and time.
3 Integration from other apps
Is it also possible to integrate into Notes from other apps? Yes. This option helps you to create excellent notes and to take advantage of different organization functions offered by the Notes app.
For example, open the desired site in Safari, choose Share and then choose Notes. Create a new note by default, or tap on ‘New note’ to add this bookmark to the existing notes. You can add some text to the Notes, and choose Save. Voila! Your note is created together with a bookmark to the Safari page!
TIP: In this simple way you can combine the Music app with a Notes app – share a song from the Music app right into a note. All you need to do is listen to the song, tap on the menu in the upper right corner, choose Share Song, choose Notes. And that’s all – a song is now saved to Notes!
You can do the same on Spotify and save the link to the full album. It also works in Maps, Books, Podcasts, and even Prime and Netflix!
4 Copy Article to Note
The fourth tip on our top 5 Apple Notes Tips list involves using Shortcuts. First, make sure you have the Shortcuts app installed. It’s probably already on your phone, otherwise, go to the App store and download it.
Open the Shortcuts App and tap on Gallery. In the search field type Notes, select “Clip Articles to Notes” and tap the plus icon to add it to your Shortcuts. With this enabled, you can easily clip an entire article to Notes!
It is a great tool for anyone who needs to quickly take information from articles and save them as notes.
5 Split Screen Safari and Notes
The last among Apple Notes tips is fantastic for boosting your productivity as well. However, you can use it exclusively on your Mac and iPad. Do you often use the Safari browser for research? Let us show you how to set up Safari and Notes side by side.
Again, go to the Shortcuts app, choose Gallery and search for Notes. Tap on little plus next to “Split Screen Safari and Notes” to add it to your Shortcuts. Open the Shortcuts app, hit the play button, and use this handy option!
If you choose to use Siri, whenever you say ‘Split Screen Safari and Notes’, it will automatically put Safari on one side of the screen and Notes on the other. Handy, isn’t it?
Apple Notes Tips: In Conclusion
The Apple Notes App offers a wide range of features to improve your note-taking experience. With each new update, it has more options for creating a note, adding content, organizing, and managing your notes. Now, go on and try out these Top 5 Apple Notes Tips – the increase in productivity is guaranteed.