A stereo sound is a sound that surrounds you and comes from more than one point. This is the natural way for humans to hear and it allows us to pinpoint where the sound is coming from. Therefore, when you listen to a symphony, you can tell where a certain instrument is situated.
If you ask a sound engineer about stereo recording, he or she will probably bombard you with many different ways of making one. In this article, however, we prefer to keep it simple.
Now, here are our 3 tips for recording in stereo.
Use two microphones
Okay, this may come a bit too obvious, but we still need to talk about it anyhow. The common misconception people have is that having two mics recording at the same time will automatically make things stereo.
That’s not how it works.
Human ears are located on the sides. Sounds coming from an object entered our ears from different angles and that is the cue on how the mics should be arranged.
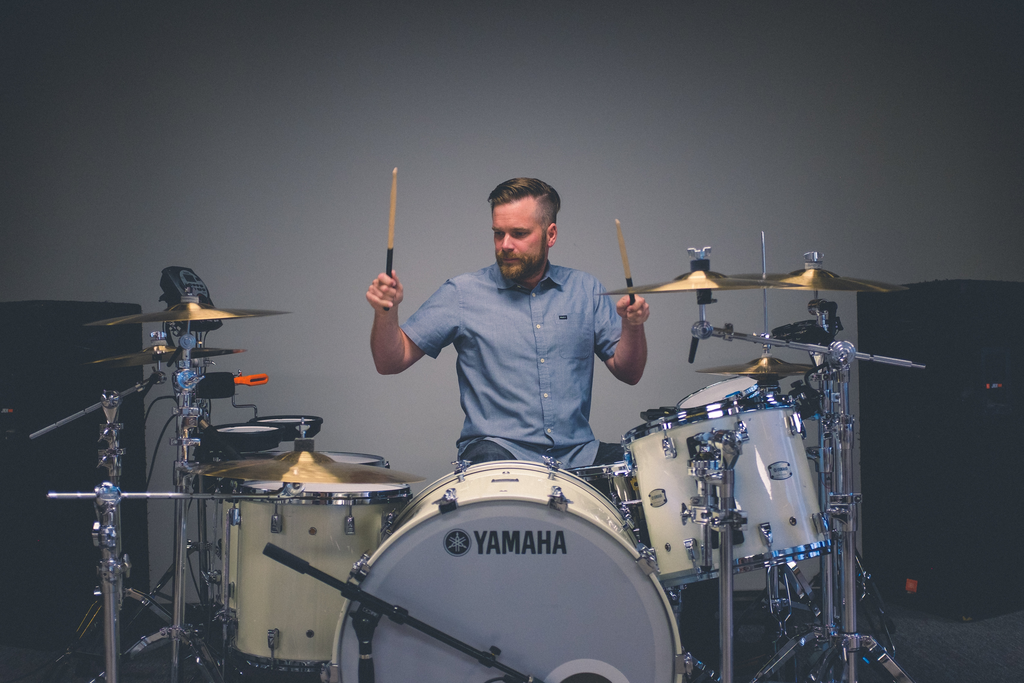
Let’s pretend you’re recording your best bud, Joe, playing his drum. Instead of having two mics directly in front, pointing directly at him, you should tilt them to the left and right. Point them at imaginary Joes positioned on the left and right of the original Joe. This way, the drum sound will come from different angles, hence the stereo effect.
A different approach is to separate the mics about three feet apart and point them directly at Joe in the center. In this configuration, both mics will still record the sound coming from different angles.
Use more microphones
Stupid tip you say? No, it’s far from it.
You see, two mics work well when the source of the sound is concentrated in a small area. For something like an orchestra, where the sounds are coming from a space spanning about 30 feet wide, two mics won’t cut it. There will be a kind of gaping hole in the recorded sound when only two mics are used.
For an orchestra, school play, or choir, a third mic is introduced in the center while spacing the right and lift further to 6.5 feet. The third mic is set on the center, 5 feet closer to the source than the two. Additional spot mics are often introduced to highlight important parts and sections. Position them close to the important sections to add extra detail and clarity in the recording.
Copy and paste
Your boss hands over a band recording in mono and asks you to make it stereo. What do you do?
Well, it’s time to marvel at the magic that is Ctrl+C and Ctrl+V.
Fire up your favorite audio editing software. Copy the original track and paste as a second track then time-shift the second track about 30 milliseconds. Pan the first track to the left and the second one to the right to simulate the stereo effect.
“What good will that do?”
The human brain is a funny machine. The slight time- shift can trick our hearing perception as the brain fuse the two into one. Now, you will hear the new track as if it was originally recorded as stereo.
To strengthen the effect, you may introduce tonal and timber alterations. They’re not mandatory though.
Okay, that’s all for our three handy tips for recording in stereo. Please note that you don’t have turn everything into a stereo. There’s still a place for mono recording. A vocal track with one vocalist in the center of the stage is best recorded in mono. It provides a natural, clear, and clean sound. The vocal comes out right in front of you. It’s like you’re face to face with the singer.
Now, whatever method you use, be sure to save the recording in a lossless compression file format when you want to share or distribute it. Lossless compression can minimize the file size while keeping all the details. You’ll do the artists great injustice if you end up saving the recording as a 64kb MP3 file.
