With the polar vortex loosening its grip, it’s finally safe enough for photography enthusiasts in North America to venture outside and continue with their hobby. Finally, they can explore more than taking shots of boiling water turned into ice crystals instantly, clothes frozen solid, or any other scene that looks like it’s coming from The Day After Tomorrow.
There are some things you must note when taking pictures during winter. That is if you want to take decent pictures that you can brag about to your friends on social media.
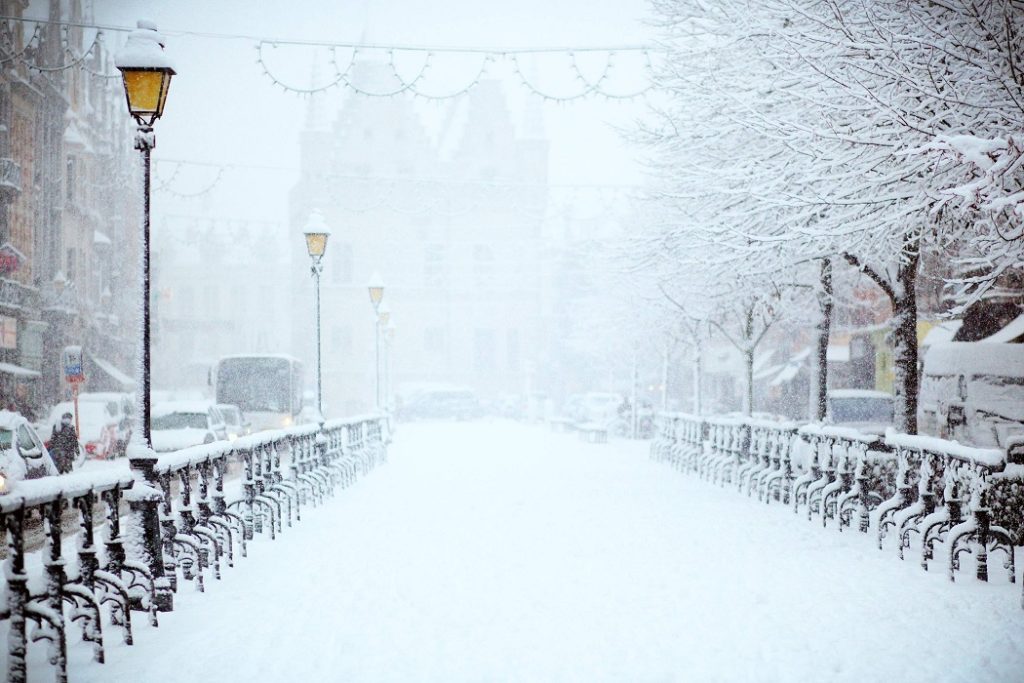
5 Winter and Snow Photography Tips
The followings are our top tips for snow and winter photography. Any beginner should find these helpful when trying to get the best out of the winter.
#1. Protect your gear
Wrap your gear in an airtight plastic bag to prevent condensation or fogging. You don’t want those to happen in the camera body or lens as condensation can do severe damages. When your done taking pictures, put all the gear in the camera bag and shut the bag tight.
Once you’re back in the house, don’t immediately pull the gear out of the bag. Let the bag and the gear warm up slowly at least a couple of hours. Letting the gear rest for a while in the bag helps prevent fogging on the gear.
#2. Focus on contrast
When everything’s white, you need to do your best to find something dark. The hunt will be tough when you’re relying on autofocus and the whole scene is too ubiquitous. Switch to manual when you can and go after the shadows.
Switching to manual can be your only choice when the snow is falling. Even the best autofocus system in the world struggles under such condition.
#3. Adjust the white balance
How would you like your snow? Perfect white or with a hint of blue? Playing with your white balance can give various effect and punch to your images. Select one of the many white balance preset in your camera and see which one gives the tone that you desire.
If you wish for realistic and true-to-life snow effects, adjust the color temperature to around 4500 Kelvin. Slightly overexposing the images by one or two stops also gives beautiful white snow.
#4. Vary your shots
There’s more to winter than just snow. There are people, buildings, street ornaments, animals, plants, vehicles, and more.
You may also want to take a macro lens with you. Sometimes you can find the macro world still bursting with life despite the bone-chilling weather.
#5. Shoot RAW
There’s always a chance that you flop out during the shoot. Snows are looking greyish instead of white, slight blur on your main subject, etc. When you shoot RAW, you have plenty of flexibility in post-production. You can fix problems easily without worrying about artifacts that might show up when you tweak JPEGs.