Photographs are 2D. They are supposed to be flat. However, many photographers don’t like it when the images they took look flat. Weird, huh?
A flat-look photograph is especially unattractive when it comes to landscape photography. Photographers want the end result to show clearly which subjects are in the foreground and which in the background. Adding a sense of depth is, therefore, an important technique to master for landscape photographers.
“But what makes a picture look flat?”
In general, an image looks flat due to lack of contrast and saturation; lack of shadows and highlights; and excessive depth of field (DoF). Naturally, the remedy for a flat-looking image is to add contrast and saturation; bring out the shadows and highlights; and use shallow depth of field.
Add Contrast and Saturation
Increasing the saturation brings you a vivid landscape photo that pops, but it cannot do so on its own. You need to bring the contrast up too.
Increase the contrast and saturation between 7-10% and see if it improves your image. Things can look a bit fake when you increase them too much so don’t go overboard with this.
Bring Out the Shadows and Lights
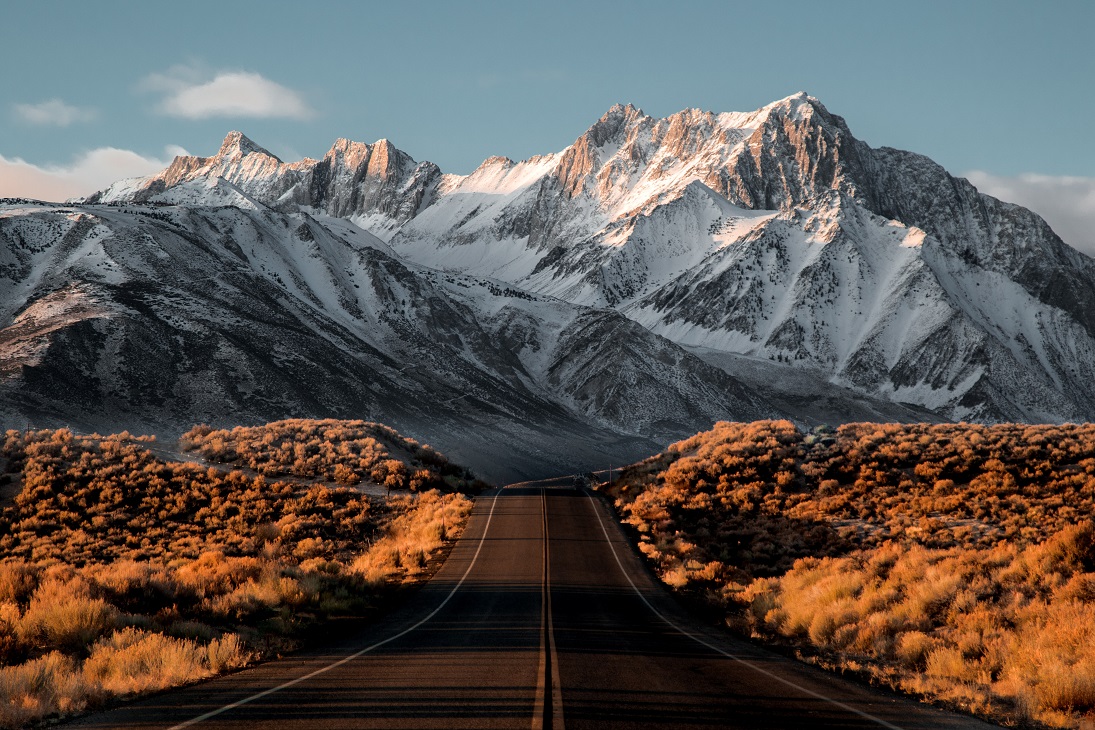
Interweaving lights and shadows makes an image look alive. This is why photos taken on cloudy days tend to be flatter than the ones taken when the sun is out. With clouds over your head, everything is uniformly lit. There’s no contrast and no shadows to give depth to the subjects.
If you use Lightroom, you can darken the highlights and brighten up the shadows using the Highlights and Shadows slider. Slide the Highlights slider to the left and Shadows to the right.
Use shallow depth of field
When using a shallow depth of field you are mimicking how the human eyes work. When we focus on the foreground subject, the background looks blurry. Use a larger aperture than you usually do so that not everything is in focus. Remember these two rules:
Shallow DoF = Large Aperture = Small f-number
Deep DoF = Small Aperture = Large f-number
Focus on one important subject and zoom in. Blur the supporting subjects so that the main subject stands out. Isolating the subject will bring the third dimension into your images.
“That’s it ..?”
Well, almost. Since the first two steps are done in post, you should always shoot RAW! It’s a lot easier to manipulate an image when it contains tons of information to work with. A compressed JPEG image has lost too much important color information. If you start with a RAW image, you have more leeway during the post-processing. Once you’re done editing, feel free to save the images to JPEG or whatever format of your choice.