Together with rolling out iOS 11, Apple introduced a new image file format: HEIC.
We have gathered all kinds of information about this new image file format back then. With HEIC now also coming to Android, it’s about time to show you how you can convert your HEIC photos to JPG, PNG or another, better-supported image file format.
How To Convert From HEIC To JPG
Turning your photos from HEIC to JPG, PNG, WebP, ICO or into any other image format is quite easy. We will show you, how to quickly convert HEIC images into the format of your choice.
What’s The Difference Between Image File Formats?
For this tutorial, we chose the JPG format, but whatever you decide for will work exactly the same as described below.
1. Upload the HEIC

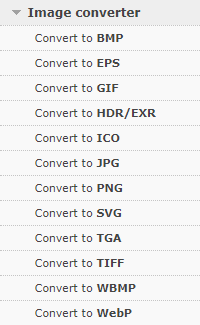
First, go to the image converter you decided for. On Online Convert, you can choose from all-in-all 12 image converters.
Depending on which converter you chose, the optional settings might differ. Other than that, everything works just like this:
Upload your HEIC photo either from your hard drive or phone’s storage, a link or a cloud service.
Now, you can already start the conversion. Or you can make use of the optional settings of the image converters that allow you to change the image size, crop parts, add color filters, and more.
You can even save your optional settings to use them again.
2. Download You File
Yes, that’s it. That’s all you had to do. Just upload your file and wait until Online Convert is done with the work. You can now download your converted image or save it to a cloud like Google Drive or Dropbox.

