Image editing is an almost substantial part of our lives by now. Almost no image is uploaded to social media that hasn’t been enhanced in some way. Face tuning, filters, adding stamps and emojis, and more.
On Online-Convert.com, you also have the possibility to apply some basic image editing when converting your image files. Of course, this is also possible when creating screenshots from a video. We have explained the image enhancing settings already. But now, you can also crop your images! Let’s have a look at how it works below!
All you need:
- An image
- An online image converter
Crop Images Using Online Convert
Before we have a look at how you can crop an image easily and fast online, there is one more question that has to be answered.
Why Crop An Image?
There are two very practical reasons that come to mind as to why you would want to crop an image.
One is to focus on only part of an image. Maybe the background is too distracting, the object you want to focus on is very small compared to the overall image, or you want to crop out part of the image. In either case, you can cut off parts of the image to have left only what you want.
| Original Image | Cropped (in px) | Cropped Image |
 Image by Rikimih |
|
 |
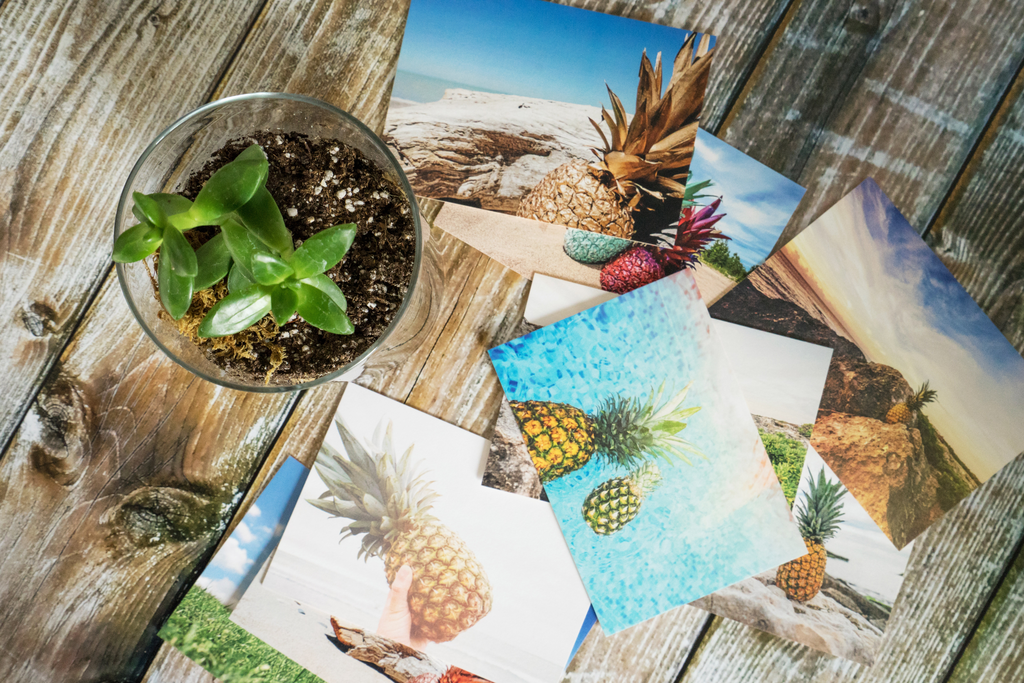
The second is when you want to change the orientation of an image. If you can bear losing a part of the image, you can easily convert a landscape photo into a portrait one – and vice versa.
| Original Image | Cropped (in px) | Cropped Image |
 Image by Drop The Label Movement |
|
 |
How To Crop An Image?
There are a few things you need in order to crop your image, apart from the image itself and the aforementioned converter. And that’s:
- the dimensions of the image
- an eye for proportions
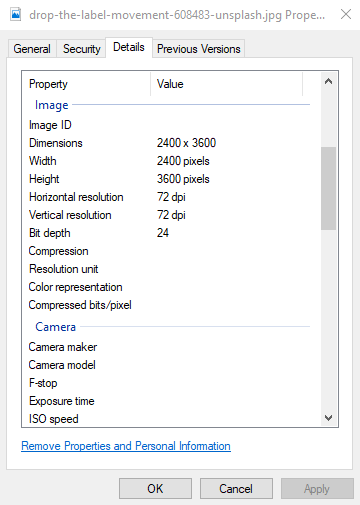
1. Get the image dimensions
The dimensions can be found quite easily. Right-click on the image and select “Properties”. There, under “Details”, you can scroll down to the dimensions. Consider the following example from the second image above:
2. Upload your file and enter the settings
Now that you know the width and height of your image, it’s time to upload it to the image converter. We suggest you try either the JPG converter or the PNG converter.
Uploading it is rather easy. Either you choose an image from a cloud service, enter a link or upload it from your hard drive. Once that’s done, scroll down to the settings. Here is where your perceptions of proportions come into play. There are four fields for you to enter the number of pixels that you want to crop from the image from the top, bottom, left, and right respectively. If you do not know the exact number, some estimation is needed.

3. Convert your file
After you entered the pixels you want to crop from the image, just click on the “Convert file” button. On the next page, the image can be downloaded after the conversion is done. Now, you can open it and see if you like the result.
Since the conversion of an image does not take very long, you can repeat the conversion or crop some additional pixels from this image quickly until you get the desired result. For example, it took me three tries to get the portrait to landscape crop the way I wanted it to, and it took me less than three minutes to do so.