Photography is a rewarding hobby, but it can also be frustrating for beginners. If you find yourself struggling with underexposed photos or avoiding your camera due to low expectations, you are not alone. Many newcomers face these challenges, but understanding and avoiding common photography mistakes can significantly improve your results. Here are eight frequent errors beginners make in photography and how to fix them!
1 Exposure Compensation
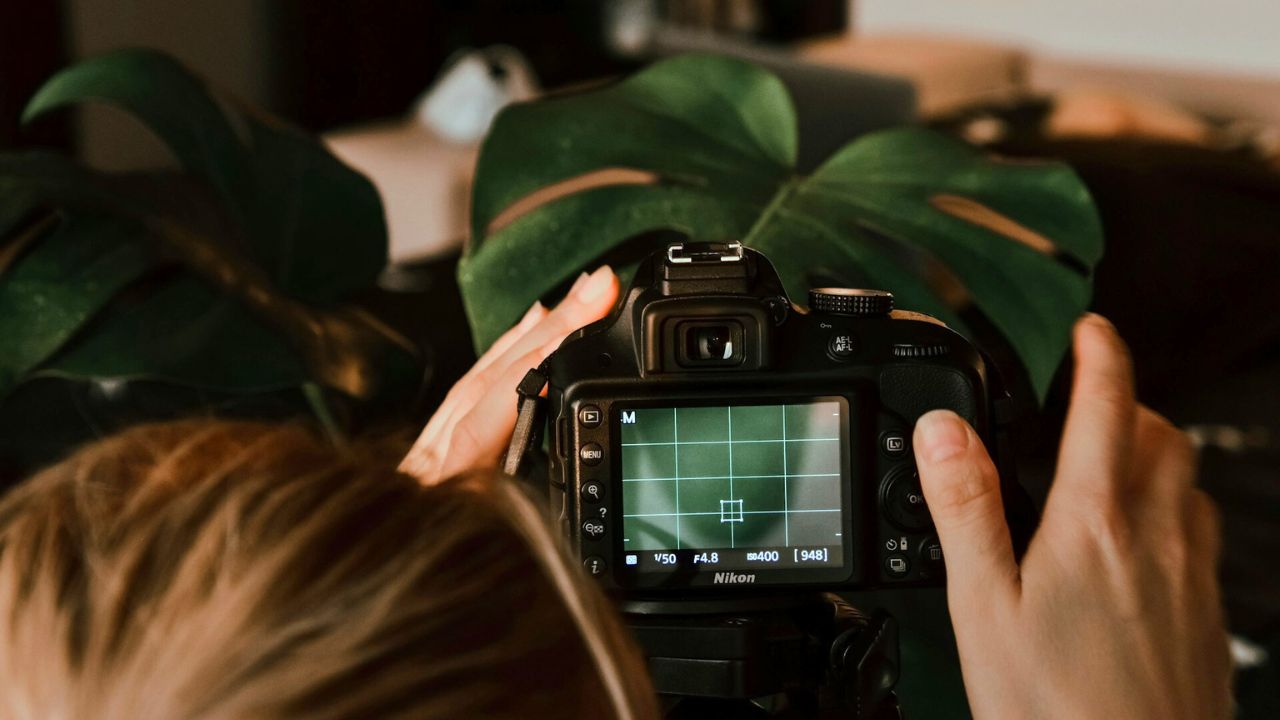
One of the most prevalent mistakes is mismanaging exposure compensation. This setting lets you adjust the exposure beyond what your camera’s auto settings suggest. If left unchanged from a previous shoot or set incorrectly, it can result in underexposed or overexposed images.
Always check the exposure compensation indicator on your camera’s LCD screen and ensure it’s set to zero when starting a new shoot.
2 Always Shooting at ISO 100
A common misconception in photography is that you should always shoot at ISO 100 for the best image quality. However, this advice overlooks the importance of adjusting shutter speed and aperture first, based on the scene.
While ISO 100 is ideal in well-lit situations or with a tripod, it’s not practical for action sports, wildlife, or indoor activities, where a faster shutter speed is needed. Insisting on ISO 100 in these scenarios can result in blurry or underexposed images. Instead, prioritize the appropriate shutter speed and aperture, then adjust the ISO to achieve the correct exposure.
If the image is too noisy at a higher ISO, try opening the aperture, lowering the shutter speed (if possible), or adding more light. The goal is to capture a well-exposed, sharp image, rather than strictly adhering to a low ISO setting.
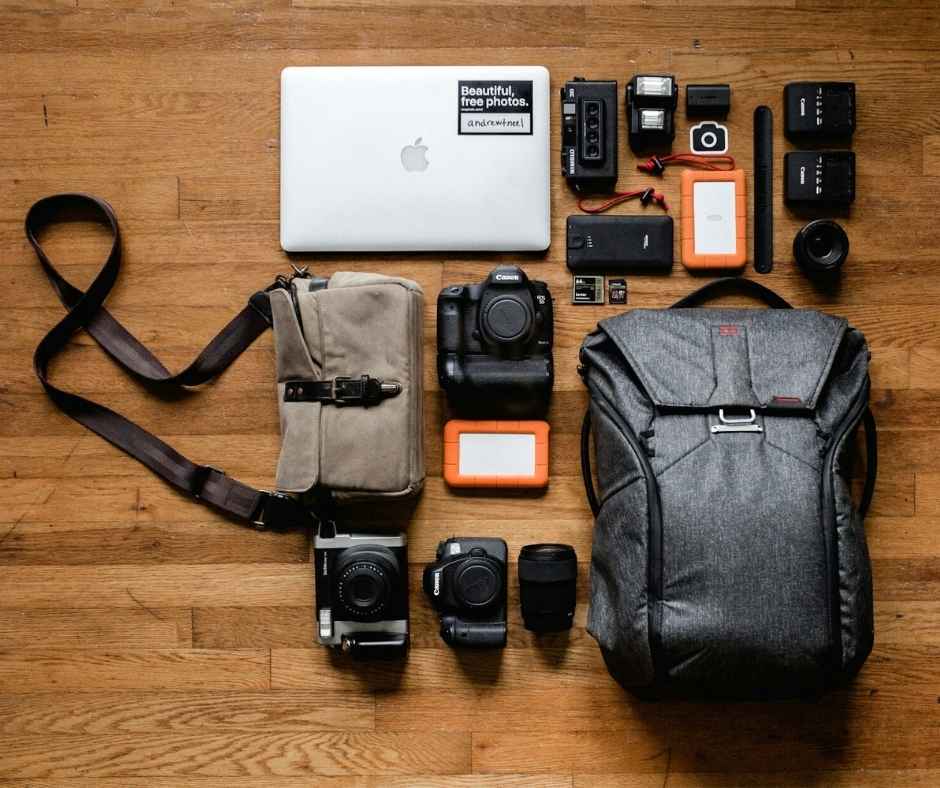
3 Relying on One Versatile Lens
Another common mistake is investing in an all-in-one zoom lens, such as a 15-400mm, thinking it can handle every shooting situation. These lenses often compromise on quality due to their broad range.
For better results, consider using dedicated lenses for specific types of photography. For landscapes, a wide-angle lens (like a 16-35mm) is ideal, while a longer lens (such as a 100-500mm) is better for wildlife.
4 Using the Wrong Focus Settings
Out-of-focus photos are often caused by using the wrong focus points or focus mode. Most cameras allow you to select from a single focus point in the center to multiple points spread across the frame. Using too many focus points when trying to focus on a specific subject, like a person or wildlife, can cause the camera to focus on something else in the scene.
For stationary subjects, it’s best to use a single focus point aimed directly at your subject. However, when shooting fast-moving subjects, using a single focus point can be challenging. In these cases, switching to multiple focus points helps keep the subject in focus.
Modern cameras with eye or subject detection features make focusing easier by automatically tracking the subject. However, many cameras still require manual adjustment of focus points. Most cameras offer two main focus modes: One-Shot (for static subjects) and Continuous Autofocus (AFC) or AI Servo (for tracking moving subjects). The continuous mode ensures that the autofocus continuously adjusts, keeping multiple shots in focus during a burst sequence.
How to Achieve Image Sharpness: 6 Key Factors
5 Wrong Shutter Speeds
A frequent issue, especially for beginners, is using inappropriate shutter speeds. Understanding the right shutter speed to freeze movement isn’t always intuitive. There are two key aspects to consider: freezing subject movement and managing camera movement.
Freezing Subject Movement:
The faster the subject, the higher the shutter speed needed:
- 1/100th of a second for still subjects
- 1/500th of a second for kids playing
- 1/1000th of a second for professional sports
- 1/2000th of a second for fast-flying birds
Managing Camera Movement:
When shooting handheld, longer focal length lenses amplify movement. A good rule of thumb is to use a shutter speed of at least 1 over the focal length of the lens.
For example, use at least 1/50th of a second for a 50mm lens and 1/300th of a second for a 300mm lens. Image stabilization in lenses or sensors can sometimes allow for slower shutter speeds, but this only mitigates camera shake, not subject motion.
If there’s insufficient light to achieve the desired shutter speed and the ISO is too high, consider using a tripod. This setup allows for longer exposures without camera shake, which is ideal for scenarios like real estate photography, macro shots, night photography, and capturing the Milky Way. However, remember that a tripod stabilizes the camera but doesn’t prevent subject motion.
6 Always Shooting at Eye Level
A common practice, though not necessarily a mistake, is always shooting at eye level. While this perspective can work well for portraits, it often lacks creativity and originality.
To create more engaging and unique photos, explore different angles. Trying different perspectives—whether from above, below, sideways, or even through objects—can make your photos stand out.
If your camera has a flip-out screen, use it to experiment with new vantage points. The next time you take a photo, challenge yourself to capture the scene from three different angles, not just one. This small effort can significantly enhance the creativity and appeal of your shots.
7 Poor Backgrounds
The background of your photos is just as important as the subject. A distracting or cluttered background can detract from the main focus of your image. Pay attention to the background when composing your shot, and consider moving your subject or changing your angle to achieve a more pleasing backdrop. Techniques like using a shallow depth of field can help blur out distracting elements.
8 Avoid Always Centering our Subject
A key to better photography often lies in composition rather than just settings. Placing your subject in the center of the photo can lead to less dynamic and less interesting images.
Instead, consider:
- Creating Leading Lines: Use the surrounding elements to lead the viewer’s eye towards the subject.
- Allowing Room for Movement: Give your subject space to look or move into, which can enhance the overall composition.
- Balancing Elements: For landscapes, adjust the ratio of sky to land based on the scene’s interest. In portraits, leave space in front of your subject to create a sense of depth.
PRO TIP:
After capturing your photos, you might want to adjust their file format or size.
Online Image converter can help you convert your images to different formats (like JPEG, PNG, or TIFF) depending on your needs.
For instance, converting to JPEG can reduce file size for easy sharing, while TIFF retains high quality for professional use.
JPEG vs PNG: Are You Using the Wrong Format
In Conclusion
Avoiding most common photography mistakes can dramatically enhance your results and boost your confidence as you develop your skills.
Remember, each element of your camera settings—from ISO and shutter speed to focus points—plays a crucial role in achieving well-exposed, sharp, and compelling images. Additionally, paying attention to composition, exploring different angles, and considering your backgrounds can make a significant difference in the impact of your photos.
By focusing on these key areas and continually practicing and experimenting, you will find yourself capturing images that are not only technically proficient but also visually captivating.
Keep learning, stay curious, and most importantly, enjoy the creative journey of photography!