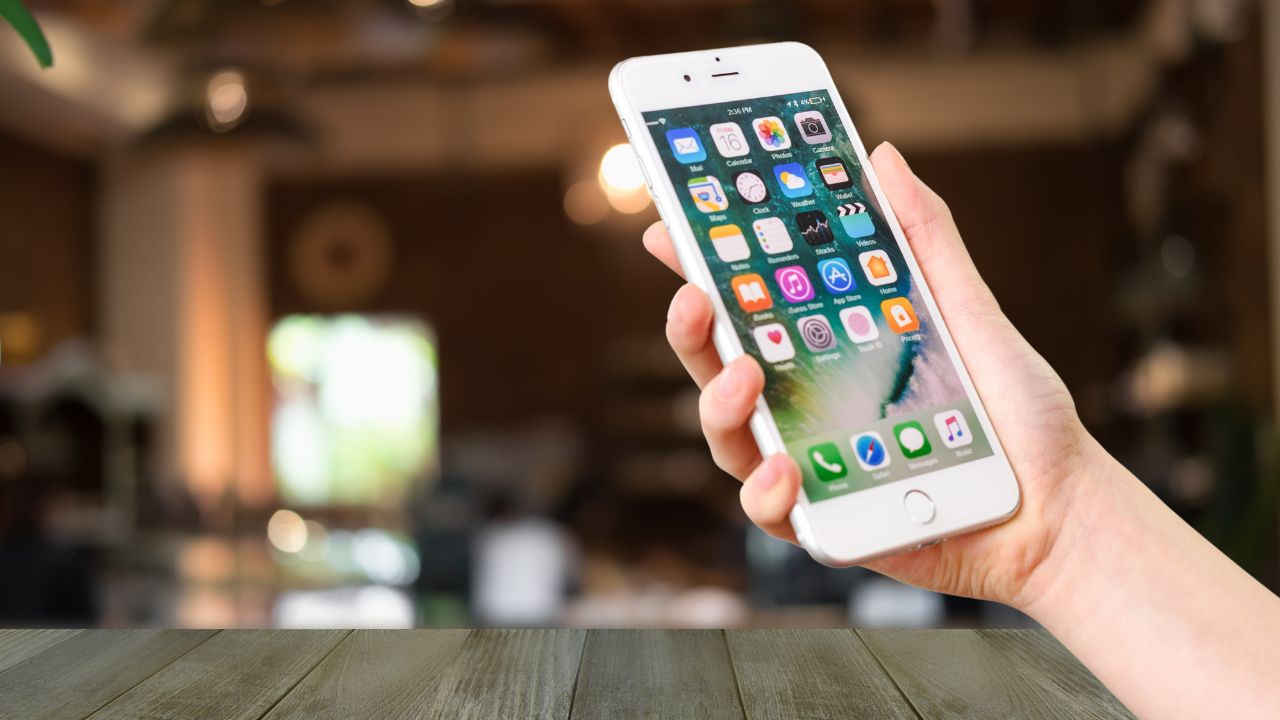
Unlock the full potential of your iPhone’s camera with our guide to The Best Photo Settings for iPhone! Whether you’re capturing everyday moments or aiming for a professional look, this guide will walk you through essential settings to elevate your photography game. Grab your iPhone and let’s get started!
1. Start in the Settings App
The first step in enhancing your iPhone photography is to go to the Settings app. Here, you will find a variety of options that can fine-tune how your camera performs.
Formats
Navigate to the “Camera” section within the Settings app, and start by checking your format settings.
You have two main options:
High Efficiency: This setting uses HEIF/HEVC formats to save space while maintaining quality, but compatibility with some devices and platforms may be limited.
Most Compatible: Opt for this setting if you prioritize compatibility across all platforms and devices. It uses JPEG/H.264 formats, which are universally supported.
Preserve Settings
It’s often useful to keep certain settings from resetting every time you close the Camera app. To do this, enable “Preserve Settings,” and ensure that your preferences, like filters and aspect ratios, remain consistent.
Grid
If you are serious about composition, enabling the grid can be a game-changer. The grid helps you follow the rule of thirds, ensuring that your photos are well-balanced and aesthetically pleasing.
Prioritize Faster Shooting
For action shots or any scenario where your subjects are moving, this setting is invaluable. It adapts the image quality to minimize blur when you are rapidly pressing the shutter button, ensuring you capture the moment with clarity.
Lens Correction
The ultra-wide camera on iPhones can sometimes distort images, especially around the edges. By enabling lens correction, your iPhone will automatically adjust these distortions, giving you more accurate and natural-looking photos.
2. Open your Camera App and Go into “Photo Mode”
RAW vs. Live Photos
- RAW Mode: Need to capture every detail? Activate RAW by tapping “RAW Max” in the top right corner. You can shoot in 48 MP or 12 MP RAW, depending on your need for detail. Remember, RAW photos don’t support Live Photos or Portrait Mode, but they give you ultimate flexibility for editing.
- Live Photos: Perfect for those candid moments. Live Photos capture 1.5 seconds before and after you hit the shutter. This lets you select the best frame later, ideal for spontaneous shots!
Exposure & Focus
- Flash Settings: Keep your flash off by default. It often leads to harsh lighting—natural light generally provides better results. But in low light, don’t hesitate to use the flash strategically.
- Manual Adjustments: Tap and hold the screen to lock focus and manually adjust exposure. Try underexposing slightly (-0.7) to avoid washed-out images in bright settings.
- Night Mode: Shooting in low light? Night Mode automatically kicks in. Handheld shots allow for a 1-second exposure, but with a tripod, you can extend this to 30 seconds for a cleaner, sharper image.
Aspect Ratio & Zoom
- Aspect Ratio: Stick with the 4×3 ratio for the best quality, as it uses the full sensor. If needed, you can always crop afterward in your iPhone’s editing tools.
- Zoom: Avoid using the pinch-to-zoom gesture—it degrades quality. Instead, use the preset zoom options (1x, 2x, etc.) or, better yet, move closer to your subject for optimal sharpness.
Optimize Your Images: The Importance of File Format
When it comes to preserving the quality of your iPhone photos, choosing the right file format is key. iPhones typically capture images in JPEG or HEIC (High-Efficiency Image Format), which are great for everyday use due to their efficient file sizes. However, depending on your needs, you might want to convert these photos into different formats.
For instance, when preparing images for presentations, websites, or social media, formats like PNG (ideal for lossless quality), TIFF (for high-quality printing), or WEBP (great for reducing file size while maintaining quality) may be more suitable.
With Online Convert Image Converter, transforming your iPhone photos into these formats is quick and easy.
Simply upload your image, click ‘START’, and download the converted file instantly. You can even apply filters and enhancements during conversion to make sure your photos are perfectly optimized for any platform or purpose!
In Conclusion: Photo Settings for iPhone
Mastering your iPhone’s camera settings is only the first step. With proper lighting, focus techniques, and file optimization, you will be producing stunning photos in no time. Do not forget to use tools like Online Convert to prepare your images for sharing or archiving in the best format possible!

