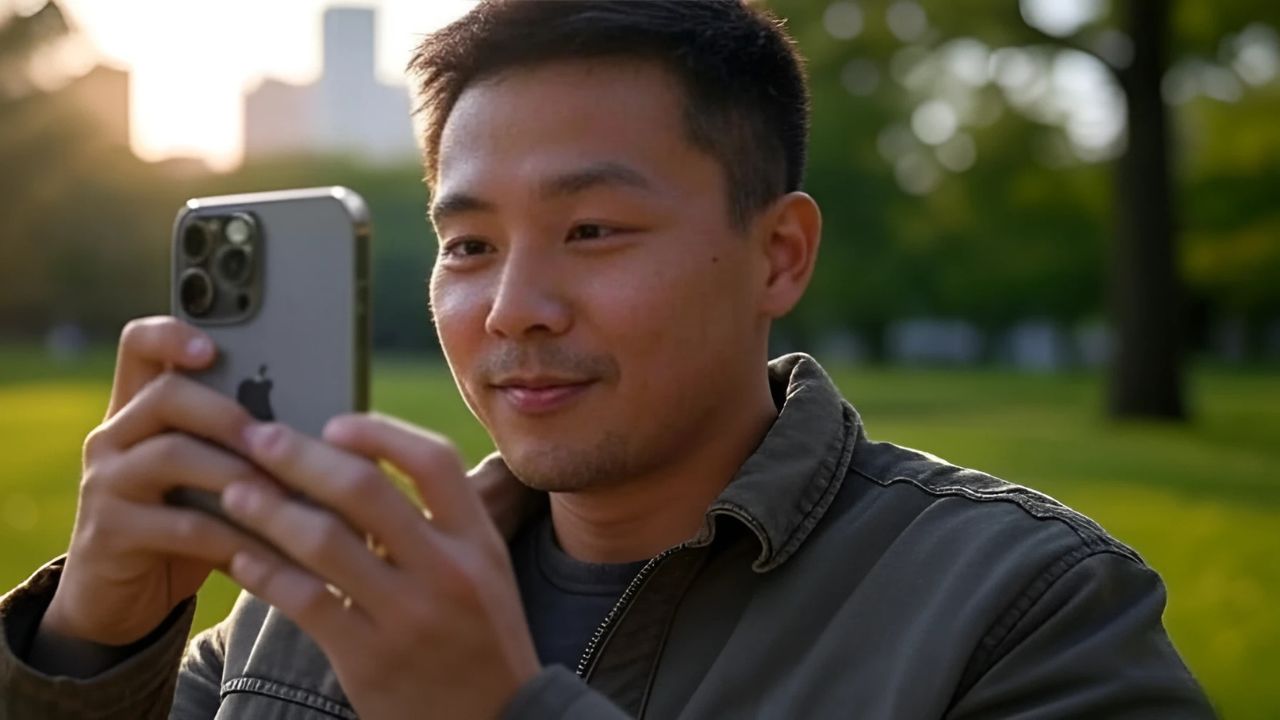
When it comes to capturing stunning portraits on the iPhone 16 Pro, the choice of image format—Bayer RAW, ProRAW, or HEIF—can significantly impact your results. We’ve conducted a portrait shoot in high-contrast lighting with the iPhone 16 Pro, comparing these formats to see how they perform. Let’s break down our findings, share technical insights, and help you decide which format suits your photography needs, especially for high-contrast portraiture!
The Shoot Setup
To test these formats, we shot portraits during late afternoon, with the sun casting long, directional shadows for dramatic, high-contrast lighting.
Used: the iPhone 16 Pro with the Reflex Pro camera app and the G-series 2x telephoto lens.
The goal: capture striking light-and-shadow interplay.
- Bayer RAW: Shot in manual mode, exposing for the brighter parts of the face to underexpose shadows intentionally for a dramatic effect.
- ProRAW and HEIF: Shot in auto mode with a negative exposure bias (around -1 stop) to leverage Apple’s processing pipeline. Avoid manual mode for these formats, as it bypasses critical processing, resulting in unpolished highlights and shadows.
Key Takeaway: For ProRAW and HEIF, stick to auto mode to maximize image quality and editing flexibility. Manual mode in these formats skips parts of Apple’s computational photography, leading to suboptimal results.
Comparing the Formats
Bayer RAW: The Unprocessed Classic
Bayer RAW has been our go-to for high-contrast portraits, and it didn’t disappoint. Since it bypasses Apple’s Smart HDR processing, it delivers sharp, natural detail in well-lit areas and deep, unprocessed shadows—perfect for the dramatic look I wanted. The shadows fall into a “deep void,” which suits this style, as lifting them reveals noise that’s best avoided.
Strengths:
- Exceptional detail in properly exposed areas.
- Deep shadows enhance contrast, aligning with the high-contrast portrait aesthetic.
- Generous highlight recovery, though tricky with varying highlight intensities (e.g., overexposing by 1.5 stops can lead to uneven exposure across the face).
Weaknesses:
- Noisy shadows when lifted, though this isn’t an issue if you embrace deep shadows.
- Struggles in scenes with extreme dynamic range, where both highlights and shadows need detail.
Best Use Case: Bayer RAW shines for high-contrast portraiture where you want manual control and don’t plan to lift shadows. It’s ideal for photographers who prefer a raw, unprocessed starting point.
ProRAW: The Best of Both Worlds
ProRAW combines Apple’s computational photography (multi-image merging for a wider dynamic range) with the flexibility of RAW editing. It surprised me with its ability to handle challenging scenes where Bayer RAW struggled, such as shots with heavy shadows and bright highlights. You can reduce Apple’s baked-in processing (e.g., sharpening) to achieve a Bayer RAW-like starting point, making it incredibly versatile.
Strengths:
- Excellent dynamic range, capturing detail in both shadows and highlights.
- Neutral colors and details compared to HEIF, with room to customize in post-processing.
- Available in 12MP and 48MP variants:
- 12MP ProRAW: Brighter due to pixel binning (4x more light per pixel), cleaner signal, less noise, and reduced background glow (an unsharp mask halo from tone mapping). Ideal for low-light and night mode (restricted to 12MP).
- 48MP ProRAW: Higher resolution but softer due to the quad Bayer sensor’s complex demosaicing and lens limitations (effective resolution ~20–25MP).
Weaknesses:
- 48MP ProRAW shows more background glow due to heavier tone mapping.
- 12MP ProRAW can appear overly sharp due to default app sharpening (e.g., in Lightroom), though this is adjustable.
Best Use Case: ProRAW is perfect for high-contrast shoots requiring dynamic range and editing flexibility. The 12MP version is often the sweet spot for cleaner images and less glow.
HEIF: Ready-to-Share, Heavily Processed
HEIF images are clean, sharp, colorful, and well-exposed straight out of the camera, making them ideal for quick sharing. They handled high dynamic range situations well, with surprisingly flexible shadows despite heavy compression. However, in direct sunlight, HEIF’s processing produced harsher specular highlights, overly sharp skin, and a slightly sunburned look.
Strengths:
- Share-ready with vibrant colors and balanced exposure.
- Flexible shadows for a compressed format.
- Editable to offset baked-in processing (e.g., reducing clarity/texture counters fixed sharpening).
Weaknesses:
- Heavy processing leads to harsh highlights and unnatural skin tones in direct sunlight.
- Smaller file sizes indicate more compression, especially in highlights.
Best Use Case: HEIF is great for quick results or when editing can mitigate its processed look. It’s less ideal for direct sunlight portraits unless adjusted in post.
Which Format Should You Use?
For high-contrast portraiture like my shoot, here’s how the formats stack up:
- ProRAW (12MP): The top choice for most scenarios. It offers excellent dynamic range, cleaner images, and less glow, with enough resolution for most uses. Adjust sharpening in post to avoid an overly etched look.
- Bayer RAW: Perfect if you want deep shadows and full manual control. Best for purists who don’t need to recover shadow detail and can manage highlights carefully.
- HEIF: Great for quick, vibrant results or when editing can soften its processed look. Less ideal for direct sunlight without adjustments.
General Tips:
- Use auto mode for ProRAW and HEIF to leverage Apple’s full processing pipeline.
- For Bayer RAW, stick to manual mode for precise exposure control.
- Explore metadata to understand baseline exposure and gain maps.
- Check Apple’s documentation for deeper insights into ProRAW’s mechanics.
In Conclusion: iPhone RAW vs ProRAW vs HEIF
ProRAW and HEIF surprised us with their versatility. ProRAW, especially at 12MP, strikes a balance between computational power and editing flexibility, making it ideal for most photographers.
HEIF delivers share-ready results, while Bayer RAW remains a favorite for unprocessed control. Ultimately, the best format depends on your workflow and creative goals!

