Nowadays, operating systems allow you to configure and personalize almost anything. You can make your work space look exactly how you like it, efficient and beautiful, or in an ordered chaos. Next different browser applications and the desktop background, you can modify start screens, folder behavior and even the mouse cursor and desktop icons of your programs.
The latter is what we will talk about today. Get one step closer to your completely personalized Windows computer by using your own, personal desktop icons.
About The ICO Format
Most icons used on a Windows computer are saved in the ICO format. They are used for all kinds of computer icons like shortcuts, programs, directories or the items in the Start menu. ICO icons can contain 8 bit transparency and color up to 32 bit.
Icons are square images of distinct dimensions. The icon sizes supported by Windows are: 16×16, 24×24, 32×32, 48×48 and 256×256 pixel. While a small icon of 32×32 pixel may be enough to be properly displayed on desktop setting with smaller icons, it’s advised to store icons in the largest size possible, namely 256×256 pixel. That way, zooming in and out on your desktop will always result in the icons being displayed with maximum quality.
More information about the ICO file format can be found here: List of File Formats – ICO
Create Your Own Icons
To personalize your desktop, you can ow start creating your very own icons for different shortcuts and basic items displayed on your desktop. This is what you need:
- A square image
- An ICO converter
Don’t worry, you don’t have to download any additional software to your computer. We explain you how to easily use the online ICO converter from Online-Convert.com
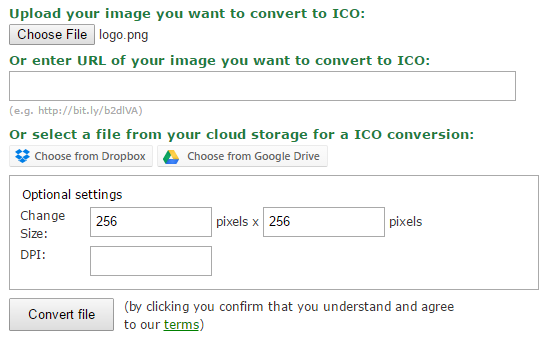
- Go to image.online-convert.com/convert-to-ico
- Upload your image or, if you found one on the web, enter the URL
- Specify the icon size
- Click on “Convert file”
After a little waiting, your icon will be ready to download. And that’s all you have to do. No installation, no complicated settings. Just four easy steps.
How To Change Windows Desktop Icons
The process of changing the default desktop icons of Windows and other programs is, essentially, the same throughout Windows 7, 8 and 10. We will explain how it is done aith the example of Windows 10.
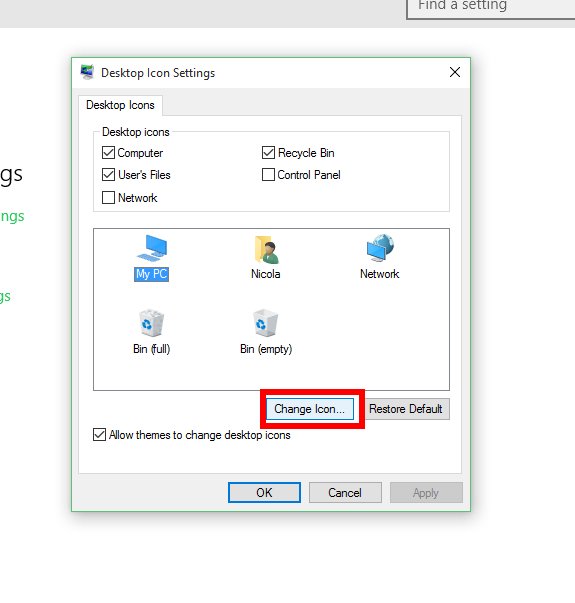
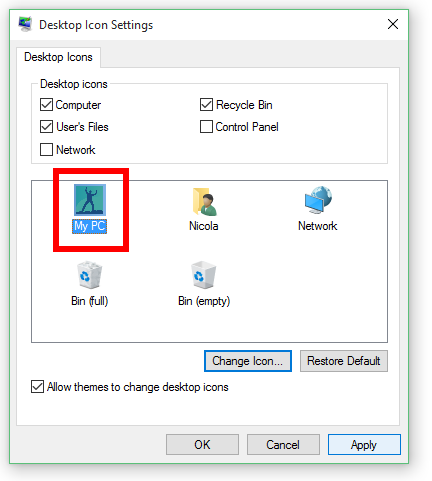
Change Basic Windows Icons
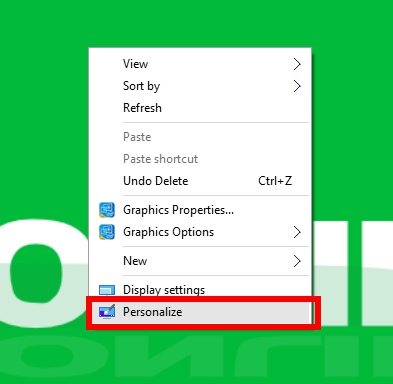
1. Right-click somewhere on the desktop and choose “Personalize”.
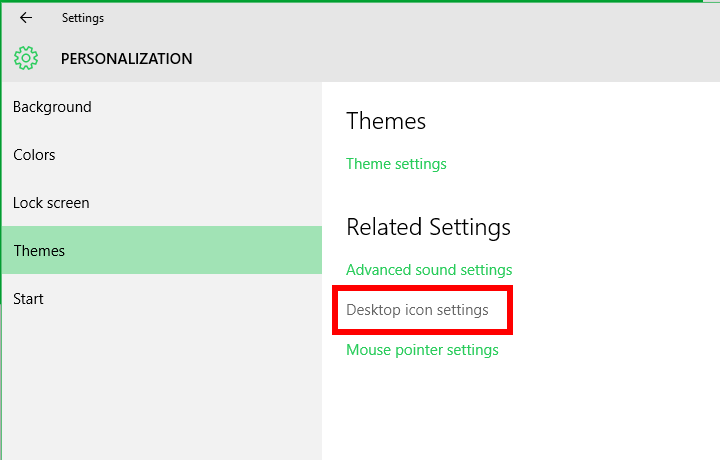
2. In the personalization window, go to “Themes” and then to “Desktop icon settings”.
3. There, you can choose a basic windows desktop icon and change it via “Change icon…”. Either choose one from the existing list of icons available in windows, or use your own one by searching it via the “Browse…” button.
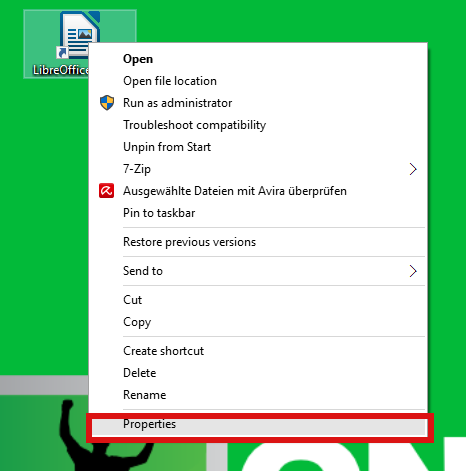
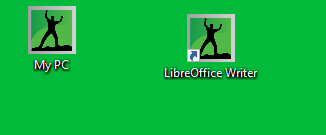
Change Program Shortcut Icons
Changing a program shortcut’s icon is even easier. All you need is the shortcut on your desktop.
1. Right-click on the shortcut and go to “Properties”.
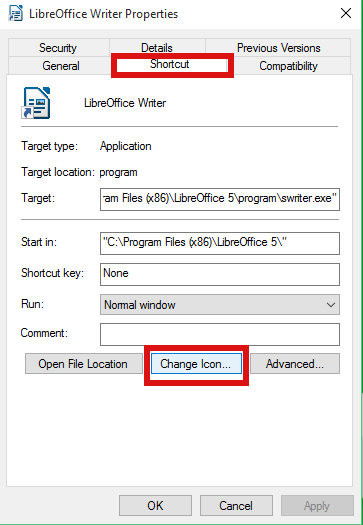
2. Go to the “Shortcut” tab. There, you can choose to “Change Icon…” and either choose one from Windows or use one of your own via “Browse…”.
Now you know how to change all kinds of desktop icons to your very own icons. Personalize your desktop to your liking!
Follow us